
This DIY trip inspection for cars and trucks provides instructions for motorists ready to embark on a trip. Whether it’s transporting the family through the woods to grandmothers for a Christmas dinner or another adventure, make sure the family car is ready. A good DIY trip inspection can give you peace of mind that lets you enjoy the trip and the company of those along for the ride.
All too often people just jump behind the wheel turn the key and go. When something happens on a holiday, like Thanksgiving or Christmas, roadside assistance or finding an open auto repair shop might be impossible. The sad part is, a DIY trip inspection a few days before your departure date can surface potential problems and leave you the time to deal with them. Here we’ll cover the inspection process used by professional drivers and a few additional tips.
In many cases these pre-trip inspections become mandated by the DOT (Department of Transportation). Although these usually apply to public transportation buses and 18 wheelers, many companies also require the inspection as policy. To make a long story short, many expensive traffic fines and over the road breakdowns remain preventable. Why ruin a vacation, holiday trip or even an important delivery of merchandise, because you didn’t take the time to check the vehicle?
DIY Trip Inspection for Safety
Before a bus driver jumps behind the wheel and begins transporting passengers to their destination they must complete a checklist. The items on the checklist pertain to vehicle safety. This simple walk around first verifies that all the lights remain operational. This includes turn signals, headlights, marker lamps, fog lights and brake lights.
As the professional driver continues to walk around he inspects each wheel to verify that all of the lug nuts are present and accounted for. A close-up inspection of the lug nuts can also expose any lug nuts that loosened up or backed off. While the driver is inspecting the wheel they take a look at the tires and inspect for defects. Tread separation and sidewall damage remain two of the important items to look for. In addition, they visually inspect the inflation of each tire. Some companies require the driver to document the amount of pressure in each tire.
When these drivers reach the rear of the vehicle they get down on one knee and look underneath for loose or hanging exhaust parts. This becomes a good opportunity to look for road debris, sticks and branches that can get stuck in the undercarriage as well. After completing the walk around and winding up at the front position, again they get down on one knee and look under the front. Here they pay close attention for wetness on the bottom side of the engine as a sign of a leaking fluid. Any discrepancies found on the DIY trip inspection require a follow-up by a trained mechanic before the vehicle hits the road.
Pre-trip Inspection for Your Car
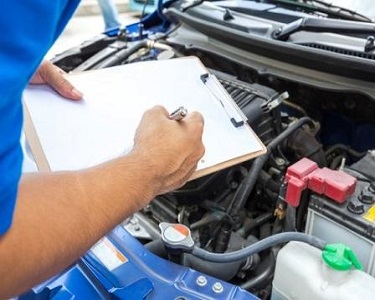
If you just did the DIY trip inspection for safety as outlined above, before your trip, you’ve accomplished more than most people. However, since this is your car we can take this DIY trip inspection one step further. Let’s pop the hood while the engine is cold and take a look around the engine compartment area.
The first thing we want to focus on becomes the fluid reservoirs throughout the engine compartment. In most cases were just talking about a visual inspection to verify that these fluids remain filled to their proper level. Most cars have fluid reservoirs for engine coolant, brake fluid, power steering fluid and windshield washer solvent. Top off these fluids as necessary, especially the windshield washer. You never know when 18 wheeler will kick up a splash of mud on the automobile windshield.
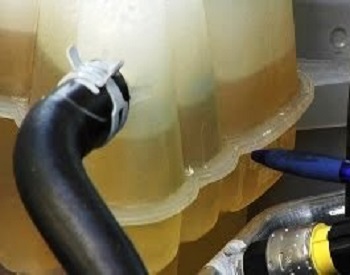
The next thing were going to look at is any rubber component in the engine compartment. We’ll inspect the drive belt looking for signs of cracking, wear or shredding. Next we’ll move on to the cooling system hoses. The upper radiator hose is usually the easiest one to see. We’re looking for signs of trouble. As an example, swelling, leakage around loose hose clamps or bubbles. If you radiator hoses look like a snake that swallowed a large rodent this becomes a sign to take action before you embark on the scheduled trip.
Car Services Before you Hit the Road

Performing a DIY trip inspection can help provide peace of mind for the long journey. You can increase this level of serenity by performing a few additional services before you hit the road. Why not put on a brand-new set of wiper blades since it’s the easiest DIY car repair you’ll find. I don’t know about you, but for me it seems like bad weather always passes between me and my destination. There’s no reason to listen to the annoying scraping sound of a dried out wiper blade for 500 miles of driving.
If you get a chance, why not take the vehicle in for a good oil change. I see a lot of articles saying that people might be changing their oil too often. As a professional mechanic, I can tell you that I see exactly the opposite of too often. Why not treat your automobile to a lube, oil and filter service prior to the trip, even if it’s a little early? Having the vehicle up in the air gives your trusted mechanic an excellent opportunity to point out any potential problems.
I don’t care if it’s a summer road trip, Thanksgiving dinner a grandma’s house or trip to Times Square for New Year’s Eve, don’t let your car ruin a good time. Trust me, performing a DIY trip inspection on your car, truck or SUV makes these events more enjoyable on both the departure and return trips.