Over 90% of people notice truck decals, while branded fleet vehicles have a greater reach and lower cost per impression than other forms of advertising.
It’s not just business advertising that makes decals worthwhile, though. Adding a flourish to your car is a popular way to personalize a vehicle.
Decals are an inexpensive way to upgrade vehicles in just a few moments. If you’ve been put off buying a car decal because you think it’s hard to install, think again.
Car decal installation is simple and really quick to do. In just a few minutes, you can go from the same-old standard model to spruced-up personalized vehicle.
Vehicle Decal Ideas
Want to add something unique to your vehicle, but you’re not sure what suits you? Be inspired with these ideas!
Business Logos
If you run a business, or support one, consider adding their logo to your vehicle. It’s a great way to market a business with little capital outlay!
Patriotic Designs
An American flag decal is the perfect way to show off the pride you have for your country. Even if you’re driving a fleet vehicle, adding a flag decal will personalize your truck with an image you can be proud of.
Family Portraits
Family portrait decals are a fun way to show off your pride. Stick figure designs with personalized names and funny images – including dogs and cats – make sure everybody knows what a proud parent you are.
Funny Slogans
Make people laugh as they pass you by, and show off your sense of humor, with a funny slogan decal. Short slogans capture attention and brighten everyone’s day!
5 Easy Steps to Seamless Car Decal Installation
With just a little patience, some water, and – of course – your amazing custom decal, it’s easy to install your vehicle wrap. Follow these steps for perfect decal installation every time.
1. Choose Your Decal Location
Decide where you want your car decal to sit. The best place to choose is smooth and flat: decals won’t look so good when placed over a join or bump in the surface.
Door panels, hoods, and trunks all offer plenty of smooth space for decal placement. You can also place stickers on windows as long as they don’t obstruct your vision.
2. Prep Your Sticker Area
When you know where you want to place your decal it’s time to prep your vehicle.
Wash the area with warm soapy water to get rid of any dirt and grime. Don’t use any harsh cleaners or products with an oil or wax base as they will affect the decal adhesive. Leave it to dry fully before applying the decal.
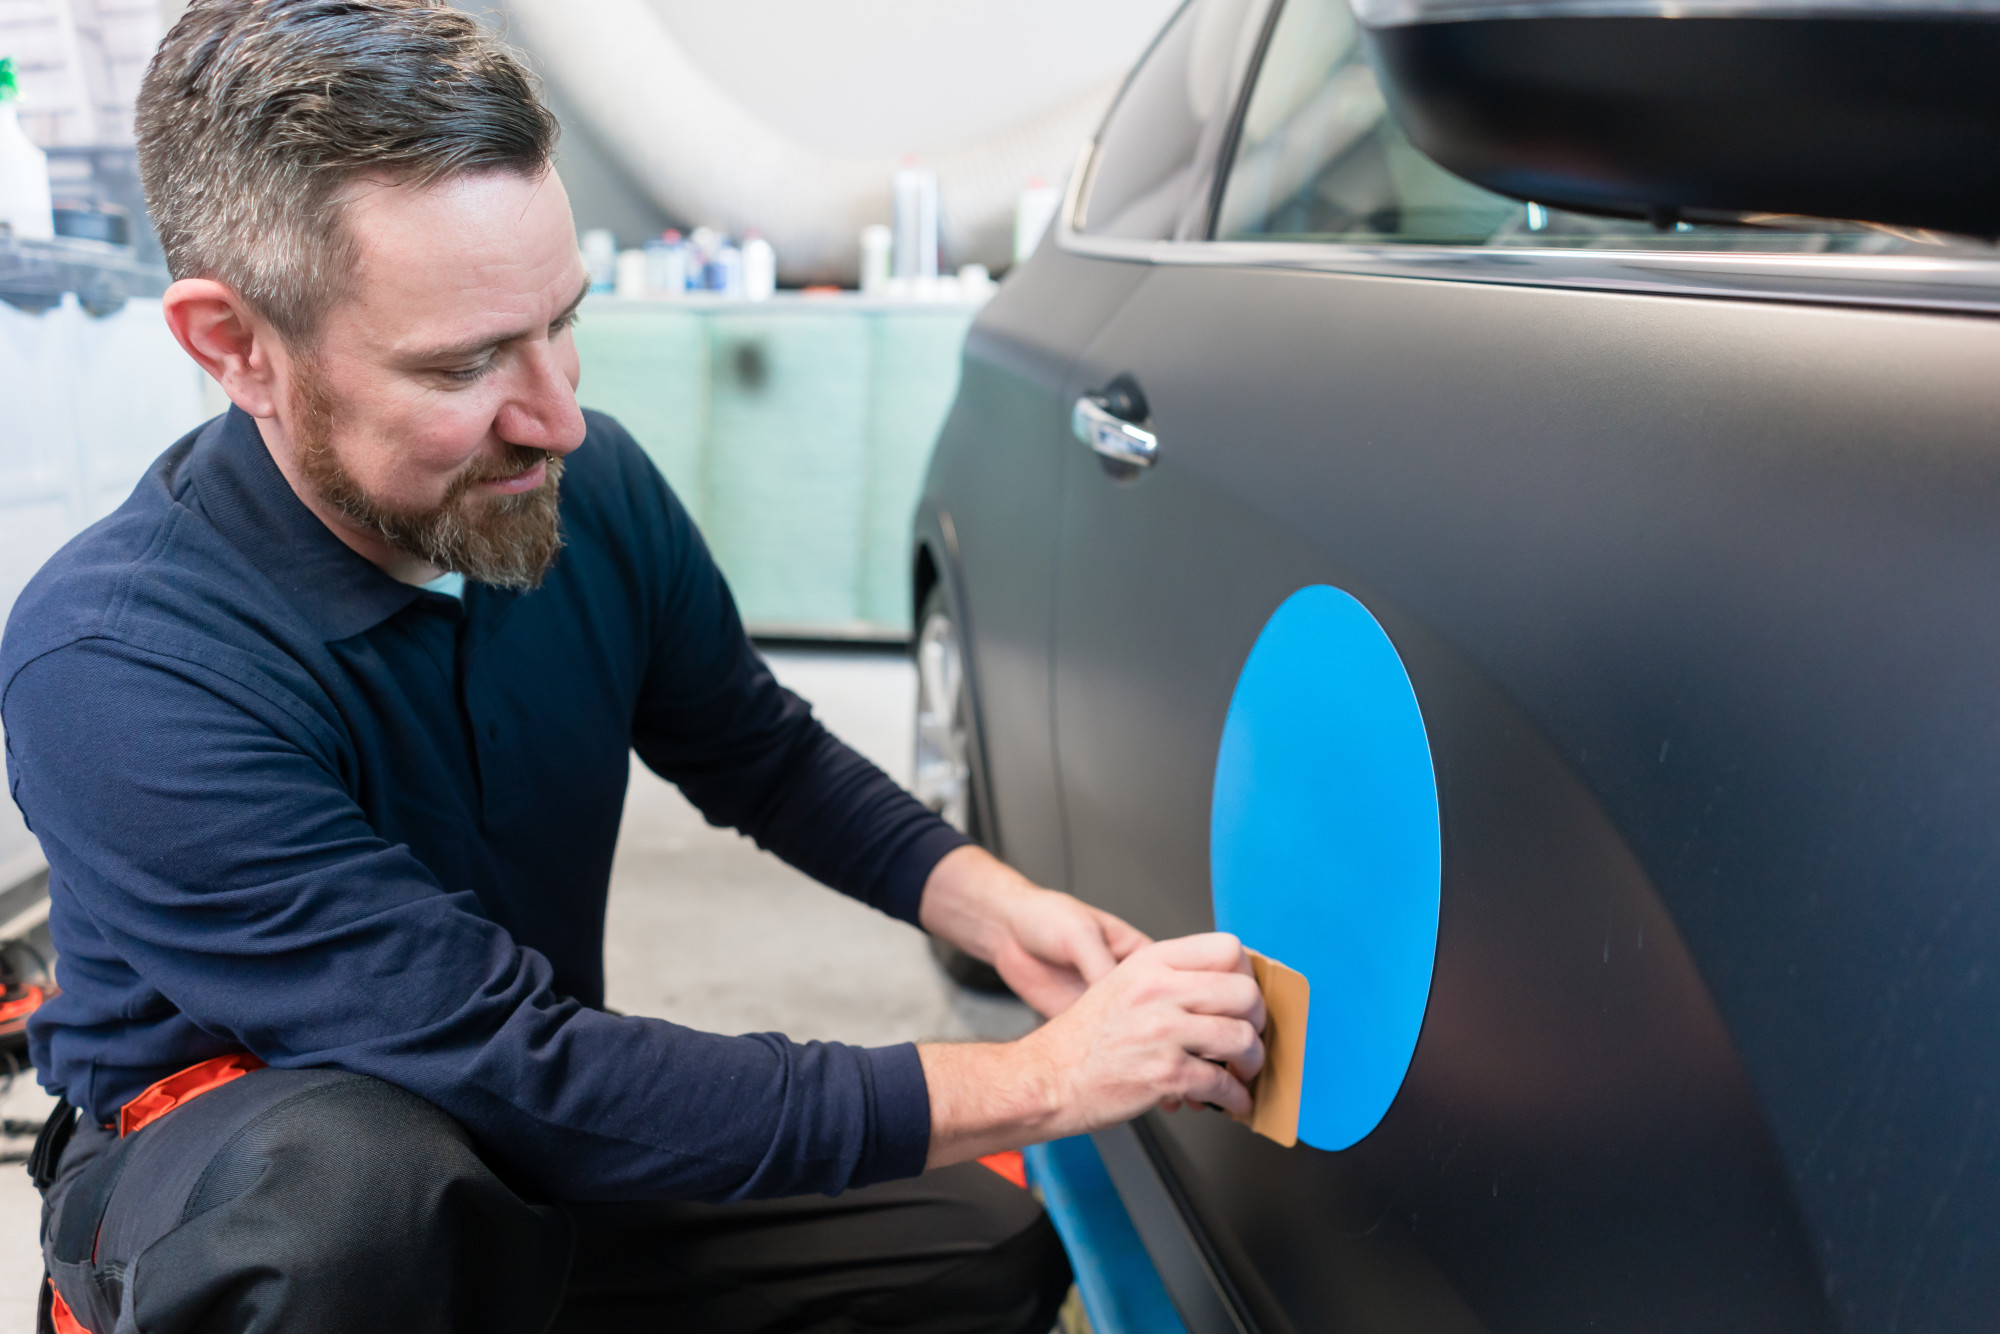
3. Rub Your Decal
Firmly rub your decal on the transfer paper supplied. Use a flat surface such as a credit card to push out any air bubbles.
Don’t move onto the next step until you’re sure the decal has no air bubbles left.
4. Place Your Sticker
Carefully peel away the backing paper on the sticker. If your decal is small, peel off the whole sheet. Larger stickers are more manageable if you first peel a small corner away before working methodically across the decal.
Place the decal on the vehicle in the desired location. Smooth the sticker with a flat surface like a credit card, as you did before. This will push out any air bubbles.
5. Wait Before Removing the Transfer Tape
You can peel the transfer tape off immediately but it’s best to leave it for at least 24 hours first to make sure the decal sets in place.
When the waiting time is up, gently peel off the transfer tape from your sticker. If the decal moves when you’re doing this, stop immediately. Wait
Discover More Budget-Friendly Car DIY Tips
Decals are such a cheap way to bring extra marketing value or simply add some personality to a vehicle. You don’t even have to outsource the work: as you can see, car decal installation is simple and really quick to do yourself.
Now you’ve got the bug for car DIY on a budget, check out the blog for more tips and tricks for easy vehicle upgrades without the need for a mechanic!