You’re pretty handy when it comes to car maintenance and repair.
However, now that summer has rolled around, you’re also ready to take your beloved motorcycle out for a ride.
The only issue?
It’s been a while since you’ve done any type of motorcycle maintenance.
Don’t worry — this post is here to help break it all down for you.
Follow these five surprisingly easy DIY repair tips to make sure your bike is in great shape for the warmer months ahead.
From taking a look at your brake pads to making sure you’ve changed the coolant, you’ll be able to have your bike safely back on the road in no time flat.
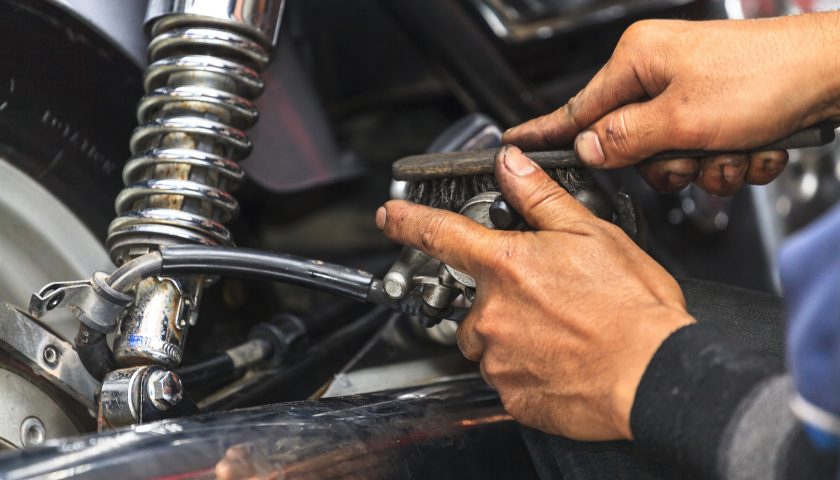
1. Examine the Brake Pads
First of all, you should begin your motorcycle maintenance routine by taking a look at your brake pads.
A good rule of thumb?
Once the pads have worn down to less than 2 millimeters in thickness, it’s time to replace them. In most cases, your brake pads will also have a wear indicator on them, so it’s easier than ever to tell when to make the switch.
If you want to learn how to replace your motorcycle brake pads on your own, check out this post from Motorcycle News.
2. Change Your Bike’s Oil
Next up on your motorcycle maintenance checklist?
It’s time to change the oil so that your bike’s engine is always running perfectly. The specifics of how often you need to change your bike’s oil are usually found in your owner’s manual.
However, it’s wise to do so after every season or 2,000 miles to be on the safe side.
Start by warming up your bike by riding it around the block. Then, turn off your engine completely and take out the drain and oil fill plugs. Collect excess oil with a pan underneath your bike.
Then, put in your new oil filter, and use a funnel to properly oil things up. If you’d like to recycle your old oil, you may be able to do so at a local motorcycle shop.
3. Check Your Tires
Another essential part of summer motorbike maintenance?
Checking the overall pressure in your bike’s tires.
This can help you to avoid accidents, get a smoother ride, and extend the overall life of your bike.
Plus, the process is incredibly easy!
All you need to do is find the valve stem, take off the cap, and use your air pressure gauge to get a sense of the current pressure.
The pressure that you need can usually be found on the tire’s sidewall itself. You can use a compressor to pump more air into your tires.
To make sure that the overall tread on your tires is also in good shape?
Take a look at the wear indicator to determine if you need to replace your tires altogether.
4. Clean up the Chain
One of the motorcycle maintenance tips that we often see getting ignored, even by experienced riders?
Checking and cleaning up the chain on your motorcycle.
The good news?
Because most of today’s bikes use an O-ring chain, the process isn’t as tough as it used to be. You can clean your chain about once every month, or whenever you notice that it’s looking a little dirty.
To make sure you’re getting everything clean, make sure that you lift up the back wheel of the bike itself. If you put the motorcycle in neutral, the chain will move with relative ease.
You can use a toothbrush to clean out the chain, and then to apply more lubricant to it after the initial cleaning.
Once you’re done, let everything set in for about 5-10 minutes, and then use an old rag to get rid of any lube that’s still lingering.
5. Switch out Your Motorcycle’s Coolant
The final important piece of motorcycle maintenance that you can’t afford to miss out in?
Changing up the coolant in your motorcycle.
The process of doing this will likely vary depending on the specific make and model of your motorcycle.
So, to make things a bit easier on yourself?
We recommend that you use our motorcycle service repair manual page to help you find exactly the right steps that you need for your bike.
Still, a few general rules still apply when it comes to changing the coolant.
This is what stops your engine from getting harmed by corrosion, overheating, or even just freezing if you take it for rides in cooler temperatures.
Take the engine off of your bolt, taking care to place a pan under your engine to collect any of the run-off coolant. Then, just wait for everything to drain. We recommend that you take off the radiator cap as well, which will also speed up the draining process.
Then, put your drain bolt back into place. You can then, just as you did with the oil, use your funnel to put in the coolant. Take a look at the manual again for a guide on how much to use.
Follow These Steps to Motorcycle Maintenance Success
We hope that this post of the five essential motorcycle maintenance steps have helped you to understand how you can keep your bike in good working order all year round.
Remember that motorcycle maintenance doesn’t have to be complicated.
The truth is that you can do most of these repairs in your own garage.
Looking for additional motorcycle maintenance tips?
Want to learn how to repair your car?
We’ve got you covered.
Check out our awesome guides and service repair manuals to tackle any issue.